I did a quick post on restoring your headlights, and people have been asking about a tutorial, so here it is.
What we’re doing – taking your brown headlights and making them clear again.
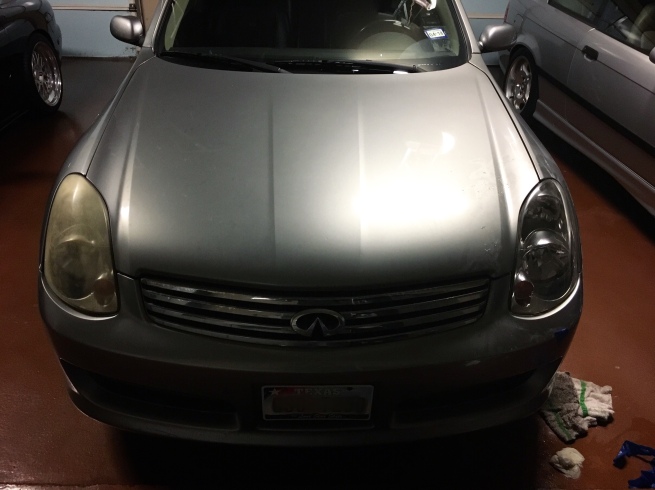
Why your headlights turn brown: headlight lens aren’t made of glass anymore – they’re made of a plastic material with a UV coating – think of the coating as sunblock. Just like sunblock, the UV coating breaks down over time, and when it does, the result is browned over headlights that not only make your car look jank, but reduce your visibility at night.
Restoring your headlights is like exfoliating your skin – it scrubs off the dead cells, and reveals the beauty underneath. It’s not hard, but it is a little bit of a process.
Here’s what you need:
- Painters tape
- Microfiber or terrycloth towel
- 1 sheet 1000 grit sandpaper
- 1 sheet 2500 grit sandpaper
- Spray bottle (with water in it, wiseguy)
- Car Polish (Meguiars 205 should be easy to find)
- UV-resistant Sealant (I used Rejex – but Meguiar’s Plastx is easier to find)
- A random orbital buffer (a high-powered drill + Mother’s PowerBall will work)
Optional: if you don’t want to purchase individual items, you can get a 3M headlight restoration kit which has everything you need (except for the high powered drill).
Now that you have supplies, here’s how you get it done:
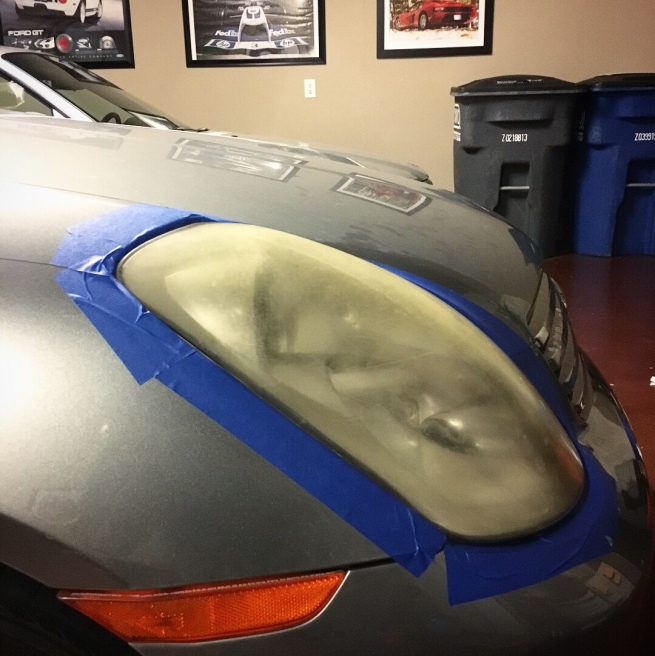
- Use the painter’s tape to tape off any painted surface around your headlights. No need to rub sandpaper on your paint.
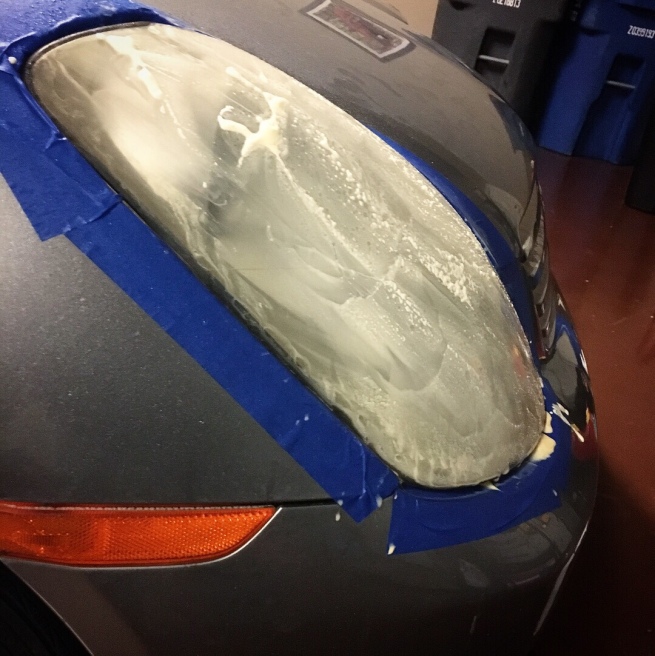
- Wet sand, stage 1: Spray the headlight with water and rub with the 1000 grit sandpaper. You’ll have a milky residue – keep spraying, keep sanding until the milky residue turns more clear.
- Wipe down the headlight with a cloth – it will be more hazy than when you started, and you’ll want to cuss me out. Resist that urge, and run your hand over the headlight – even if it looks hazy, the surface is much smoother. That was your first round of exfoliation.


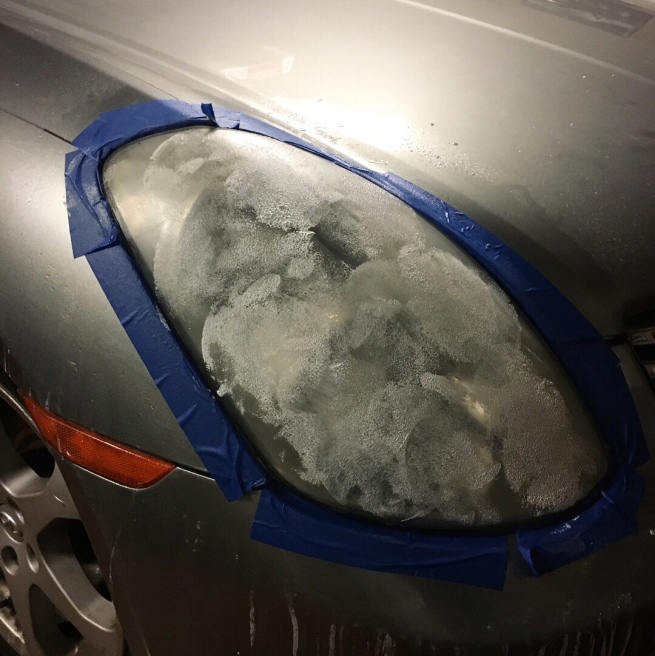
- Wet sand, stage 2: Water spray the headlight again, this time scrub with the 2500 grit sandpaper. You’ll still get the milky residue – as before, keep spraying/sanding until the milkiness goes away. Dry off the headlight – it will be less hazy and feel smoother to the touch. This was exfoliation round 2 – you refined the 1000 grit scratches to smaller 2500 grit scratches.
- Get out your buffer or PowerBall (which attaches to your drill). This is where the magic happens. Dab a couple of drops of car polish on the foam pad, and then dab the pad all around your headlight. This keeps excess polishing liquid from splattering everywhere.
- Turn on your buffer or PowerBall to polish/buff the headlight (like you would do on a car’s paint). After a 2-4 passes, you should see the headlight clear up significantly. Wipe off with a towel. Aren’t you glad you didn’t send me an angry email from round 1? The liquid polish acts as a very fine sandpaper/exfoliator, to the point where you can’t see the resulting scratches with your naked eye.

- Seal it. Apply the UV-resistant coating (sealant) with a separate microfiber or terrycloth. I’d put two coats just to make sure I have coverage.
- Clean up , and take a look at your work!
Depending on whether you keep your car outside in the elements – you’ll want to do a couple of things to maintain:
- Every 4-6 months, apply some UV sealant.
- When you see things get hazy or brown again (which they will), find this blog.
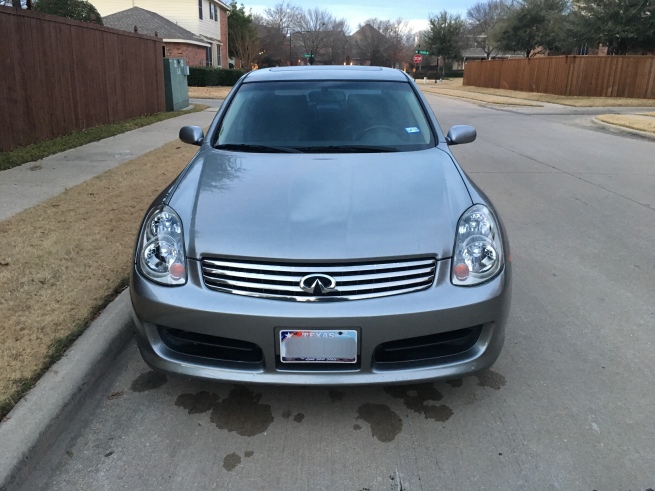
Voila! Now you know how to keep your headlights looking new. Other people may or may not notice…but take before/after pics, and you’ll notice the difference.
If you learn by watching, check out this video I used as a guide:

0 Responses to “Getting Clarity: Headlight Restoration”